
Article: STEP BY STEP | LOVED UP FRENCH
STEP BY STEP | LOVED UP FRENCH
Valentine's Day is just around the corner, we've created some easy to achieve Valentine's Nail Art designs to inspire you. First up is our Loved Up French with lots of glitter!

Nail One
- Apply a wet and true layer of your base colour to the whole nail and fully cure. We've used Lily Romance. This will create a base for your other colours for fuller coverage.
- Then, using a Striping or Short Nail Art Brush, draw a heart shape at the tip of the nail using Cherry Pachion leaving a gap on the free edge for your final colour and freeze cure.
- Then, apply your final Heart Shape French Tip using British Red & cure all colours as normal.
- Seal in with your chosen Clear Gel & Cure.
Nail Two
There are two ways to apply our loose glitters:
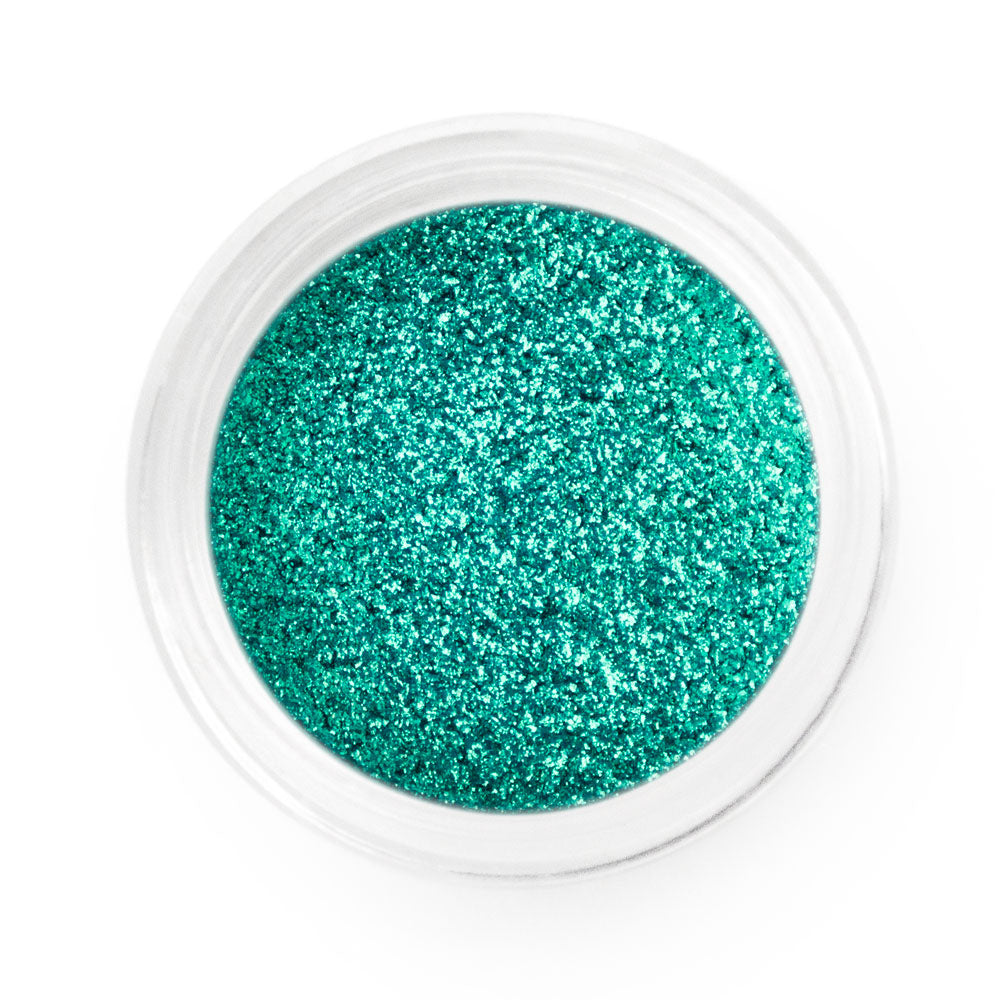
Glitter Mix
- For an accent nail, scoop a small amount of your chosen clear gel onto a mixing tile or piece of foil. Use around a 1/3 of the amount of Wild Rose Glitter into the clear and fold together to create the glitter gel mix. Apply the first layer & cure for 1 minute.
- Density can be adjusted by adding more or less glitter. If your client has longer nails, you may need more clear gel.
- Apply a second layer for fuller coverage & cure for 1 minute.
Pat & Press
- You can also apply glitters by gently patting them onto a sticky layer of a cured gel base (either colour or clear) with a Nail Art Sponge Applicator. Dust off any excess loose glitter using a fluffy brush before sealing with clear gel & repeating if necessary for full coverage.
Once Glitter Has Been Applied
- Seal in the glitter using a small build layer of clear gel. Before curing, place Swarovski Crystals in a small cluster in the wet layer. We've used Small Ruby Red, Small + Medium Clear Swarovski Crystals, cure for 1 minute. Be careful not to cover the crystals completely in the gel to ensure they don't lose their sparkle.
Nail Three
Repeat the steps as per Nail 1, but before applying your clear gel, use the Pat & Press method to apply a small amount of Pixie Dust Glitter onto the sticky residue of the gel using a Sponge Applicator. Seal with a layer of your chosen clear gel.
Nail Four
Repeat the steps as per Nail 2 without adding the Swarovski crystals.
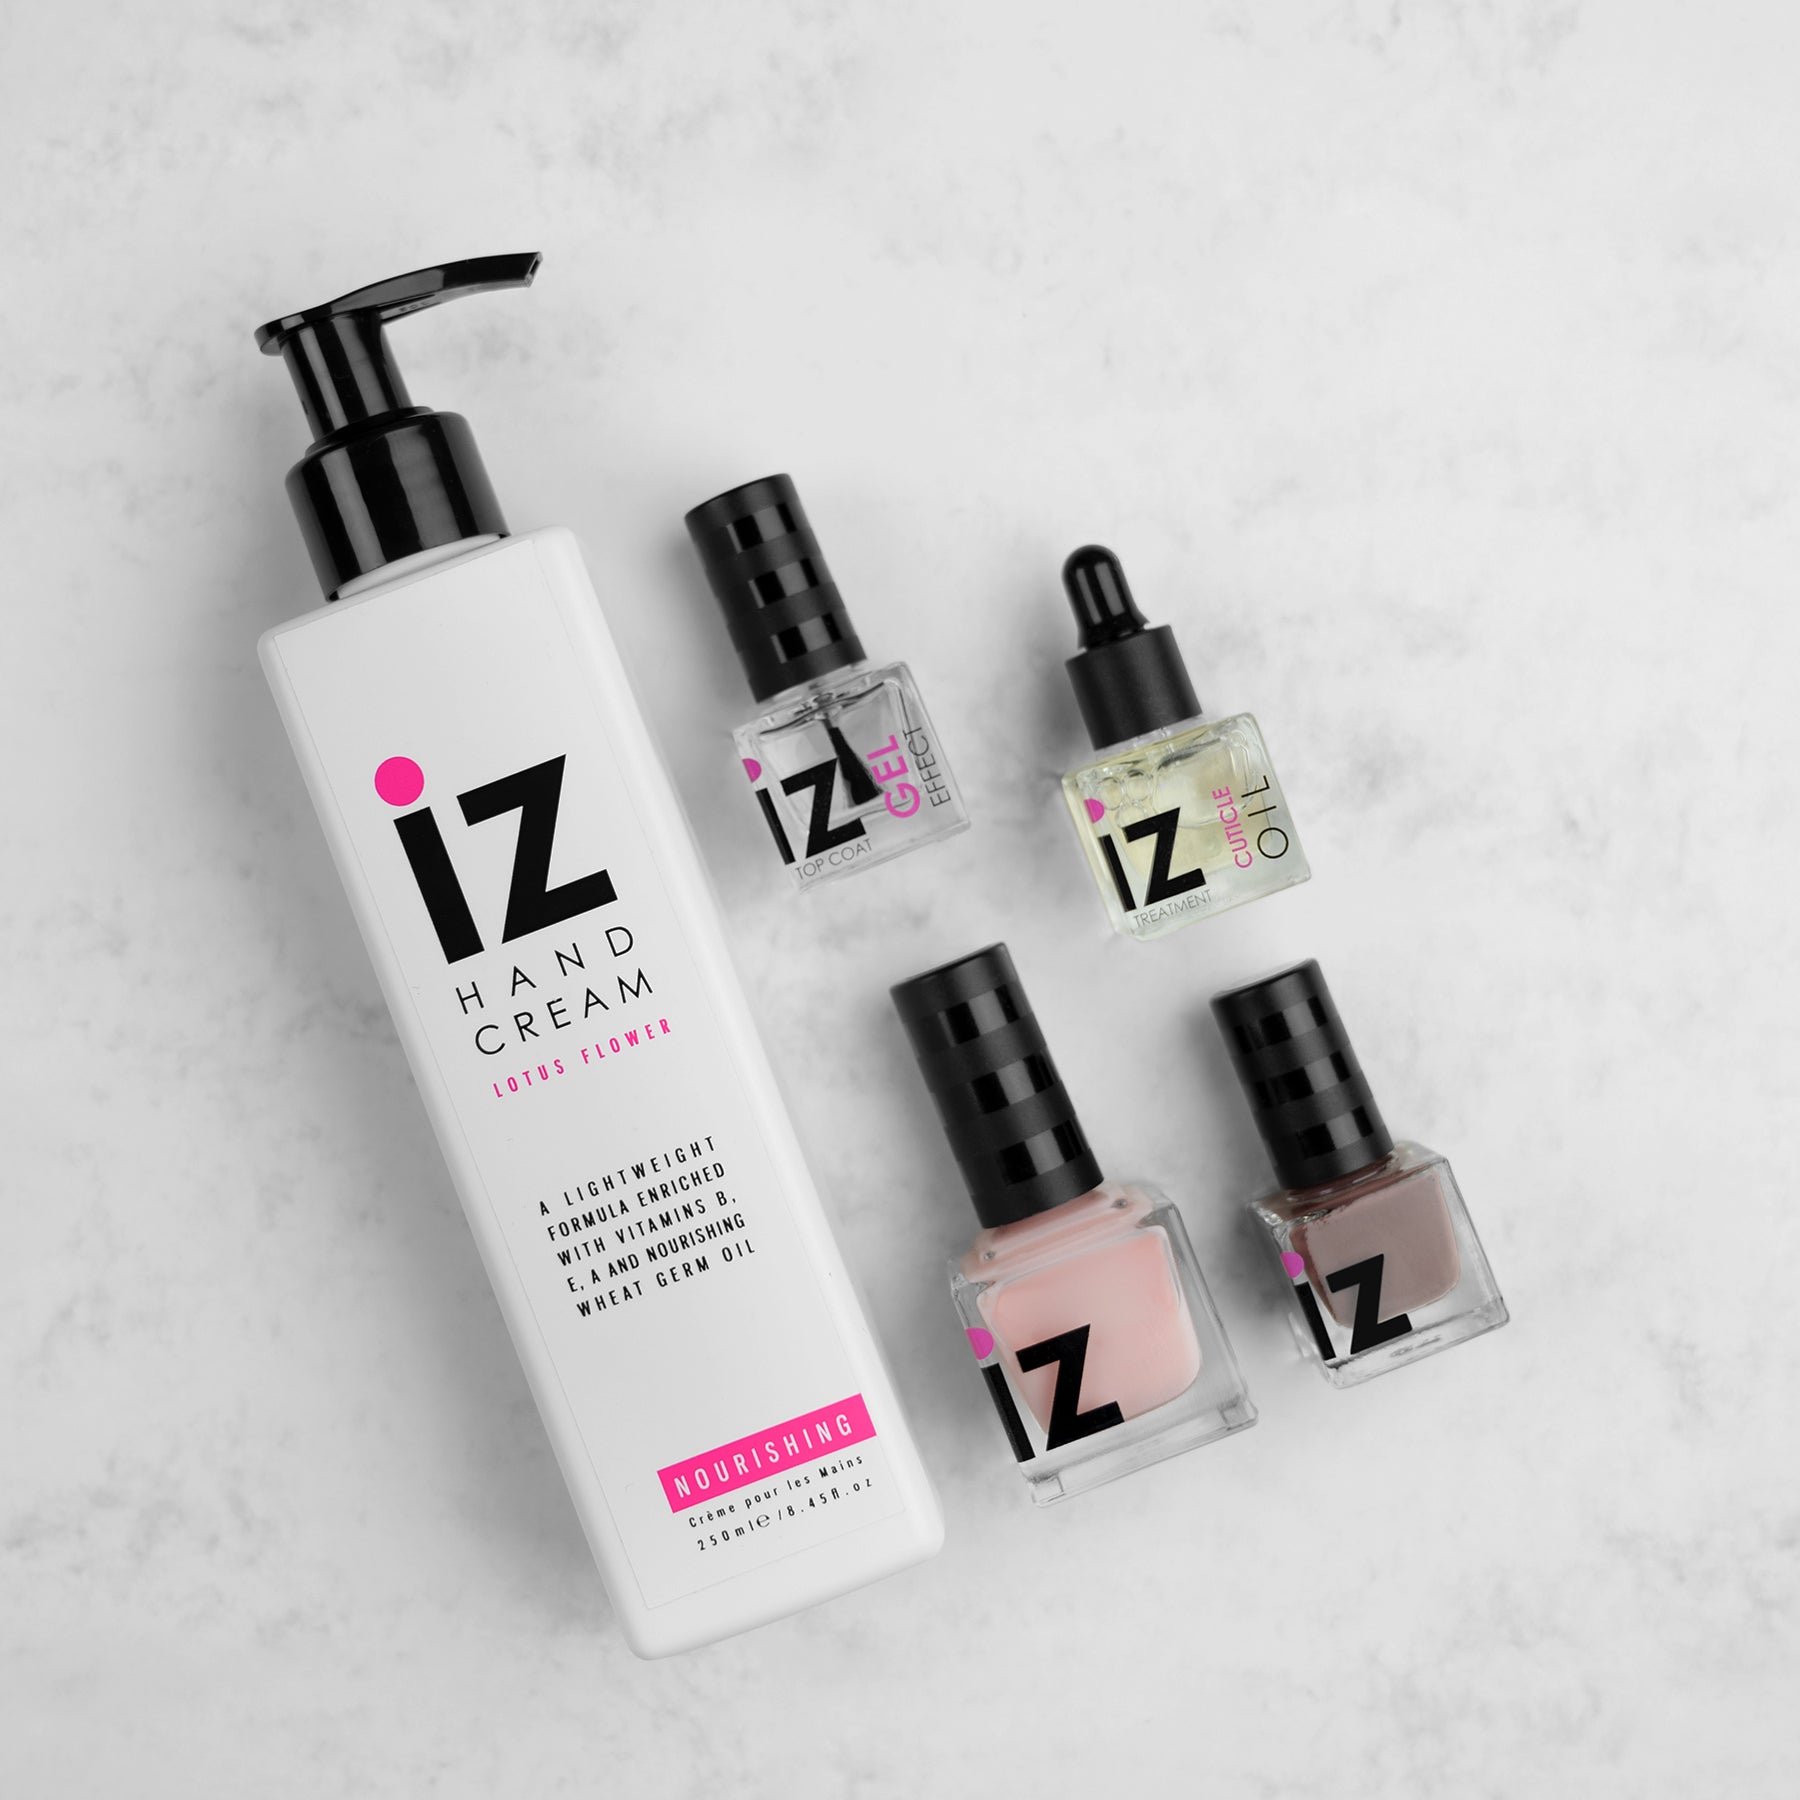
Products used
- Lily Romance, Cherry Pachion & British Red all available in both CALGEL & PRO COLOUR
- Pixie Dust Glitter
- Wild Rose Glitter
- Small Ruby Red Swarowski Crystals
- Small Clear Swarowski Crystals
-
Medium Clear Swarowski Crystals