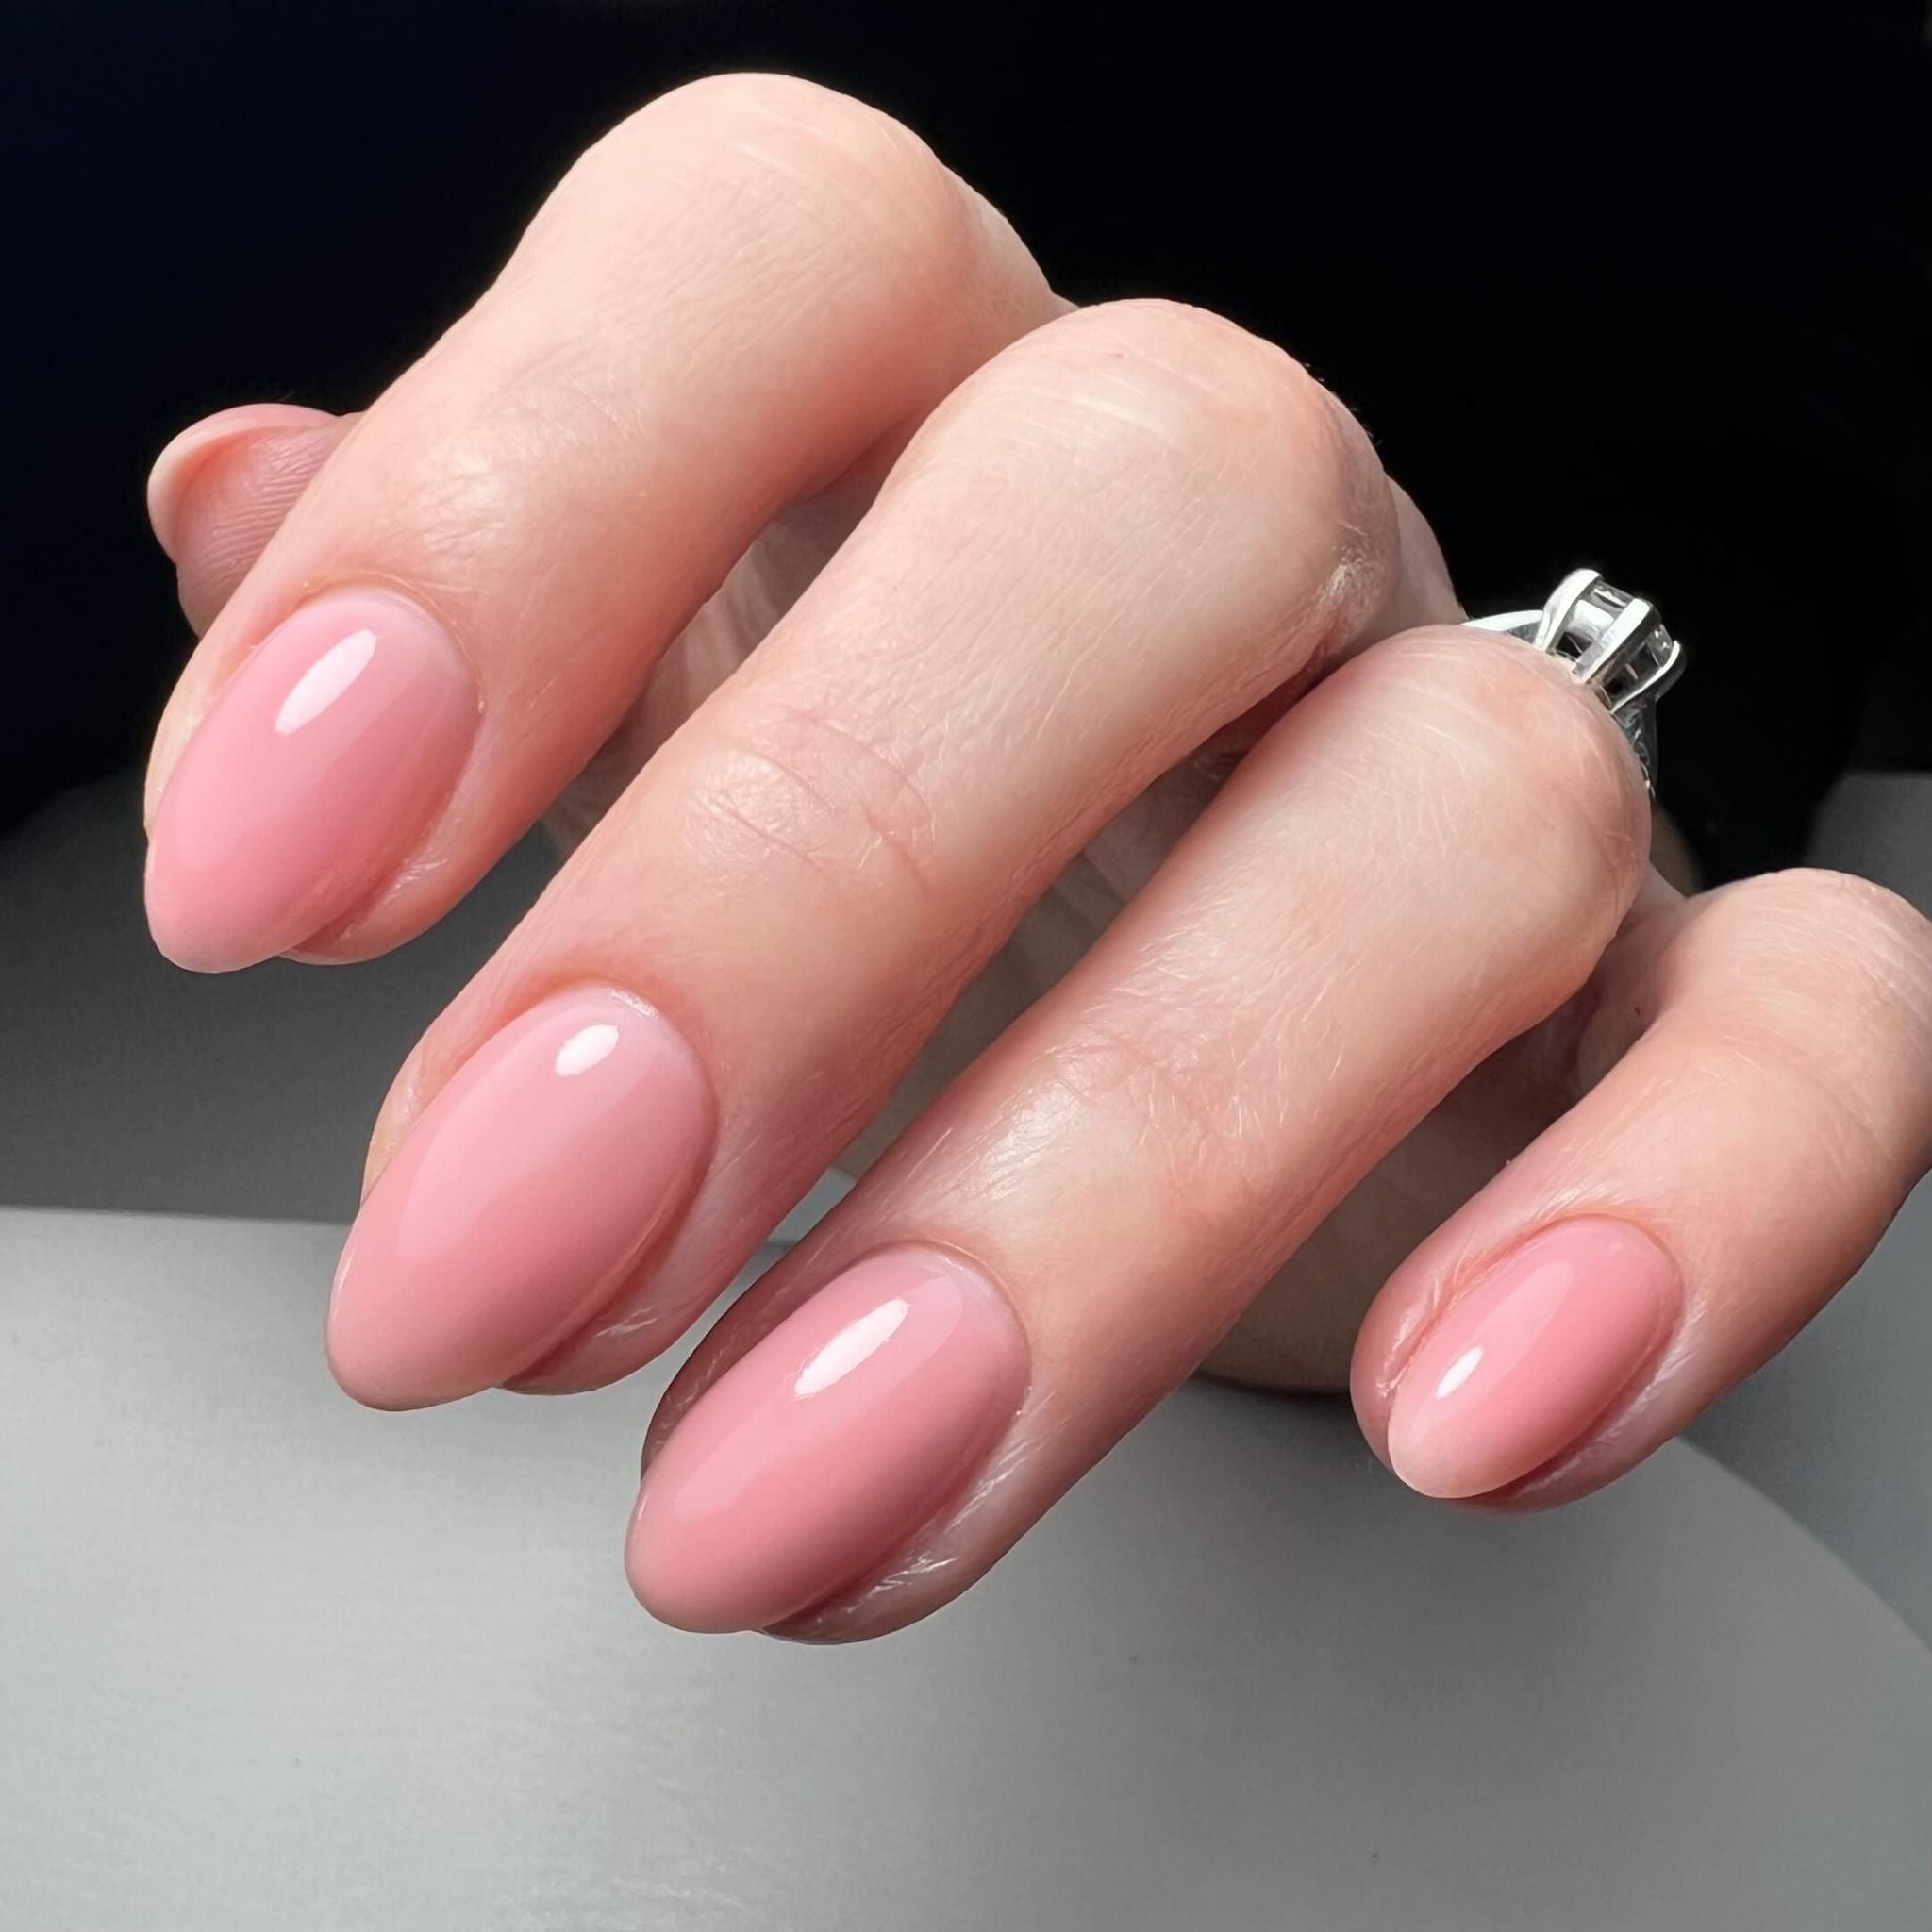

Video | Rose Quartz Tutorial

RECOMMENDED PRODUCTS
- Zen | available in CALGEL and PRO COLOUR*
- GEL&GO ‘Snow’
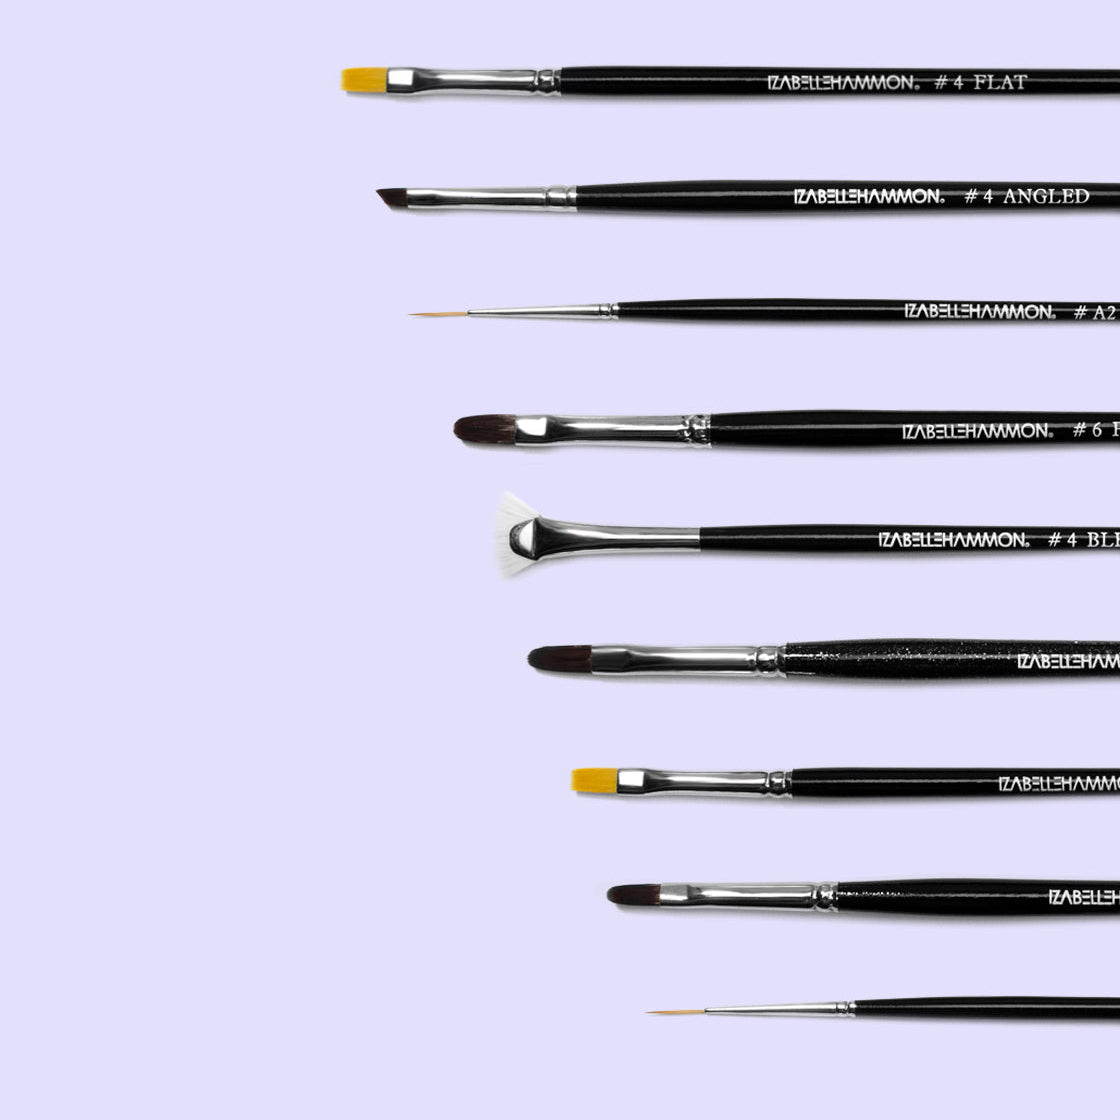
- Long Nail Art Striping Brush
- Flat Gel Application Brush
- GEL&GO | 2in1 Top and Base Coat
- Satin Matt Gel Top Coat
- Matt Nail Polish Top Coat
- iZ PRO Base&Build Clear Gel or CALGEL Clear
- GUARD (or any isopropyl solution)
Written Steps & Further Advice
Step 1 | Apply a thin layer of Zen* onto all nails as normal and cure. Cure for 30 seconds if using PRO COLOUR or 1 minute if using CALGEL.
*If you don’t have Zen in your collection, you can thin out any soft pink gel with a bit of clear gel on a mixing tile (or tin foil) to make a semi-sheer colour. Using a solid pink won’t allow the white lines to show through. Using a sheer pink also creates more depth to the finished look. PRO COLOUR Cool Pink is a good alternative.
Step 2 | Drop a bit of your chosen white gel onto a mixing tile or foil. Then gently roll a long Nail Art Striping Brush through it. Avoid overloading the brush.
We have used GEL&GO 'Snow' but you can use CALGEL or PRO COLOUR British White or Competition White using the same technique. Snow works better as it is a thinner gel.
Step 3 | Apply the white gel diagonally across the nail gentle wiggling your brush as you go. Do not cure.
Step 4 | Clean and dip your brush in GUARD (or any isopropyl solution) and soften the lines. Continue to blend until you are happy with the finished look.
As you have thinned out the white gel, you will find the gel should stay in place so you can do multiple nails before curing all together. If the application of the white was a little thick and the gel starts running, you can freeze (or flash) cure before starting the next nail.
Ensure the white gel has had a full cure of 30 seconds if using an LED lamp or 60 seconds if using a UV lamp. The cure times will be suitable for all IH white gels as they have been thinned out.
Step 5 | Once all fingers have been cured, apply a second thin layer of Zen on top.
Cure for 30 seconds if using PRO COLOUR or 1 minute if using CALGEL.
Step 6 | Apply your white lines as before, but going in the opposite direction. We have demonstrated how you can also use a Flat Gel Application Brush to blend the lines rather than a Striping Brush.
Ensure the white gel has had a full cure of 30 seconds if using an LED lamp or 60 seconds if using a UV lamp. The cure times will be suitable for all IH white gels as they have been thinned out.
Step 7 | Seal with your chosen clear gel. As we have used thin layers of gel (to keep the nails looking thin & natural) for strength, we recommend using iZ PRO Base&Build Clear or CALGEL Clear before curing as normal.
Optional
Step 8 | Protect your Rose Quartz design and have some serious shine with GEL&GO 2in1 Base & Top Coat. Cure for 1 minute LED or 2 minutes UV before removing sticky residue.
OR
Go Matt, using either our Satin Matt Gel Top Coat or for a temporary Matt Finish, use Matt Nail Polish Top Coat. If using the nail polish top coat, remove the sticky residue of your final layer of clear gel before applying the nail polish top coat.
Your clients can remove their Matt Nail Polish top coat at any time with CLEANSE; a Non-Acetone Remover to restore the shine.